


⚡ TL;DR: Learn how Ice and Water Shield installation safeguards Aurora roofs from ice dams, featuring step-by-step guides, formation science, and DIY versus pro tips.
📋 What You’ll Learn
Explore ice dam shield installation in Aurora, CO, to protect your roof from brutal winters—covering formation risks, superior science, expert steps, real results, and smart cost strategies.
- Grasp what ice dam shields are and why they outperform traditional underlayment by providing self-sealing, waterproof barriers tailored for Aurora's freeze-thaw cycles.
- Uncover how ice dams form locally in Aurora's harsh winters, leading to roof leaks, structural damage, and costly repairs if not addressed proactively.
- Master the science of protection behind self-sealing shields that stop melting ice water infiltration, ensuring long-term durability on sloped roofs.
- Follow step-by-step installation for Aurora homes, plus a real case study, costs, DIY pitfalls, pro tips, and maintenance for peak performance.
📖 Reading time: 7 min
✍️ Author expertise: Aurora-based roofing pro with 20 years of hands-on ice dam shield installs.
Imagine waking up to a soggy ceiling in your Aurora home, water dripping from the attic after a brutal snowstorm melts just enough to refreeze at the eaves.
That's the nightmare ice dams create every winter here, turning your roof into a leaking liability and racking up thousands in repairs.
But what if you could stop it cold with Aurora's ultimate protection hack: the Ice Dam Shield?
Stick around, and I'll show you exactly how this game-changer gets installed and why it's your best bet against Colorado's icy wrath.
What Exactly Is an Ice Dam Shield and Why It Beats Traditional Underlayment
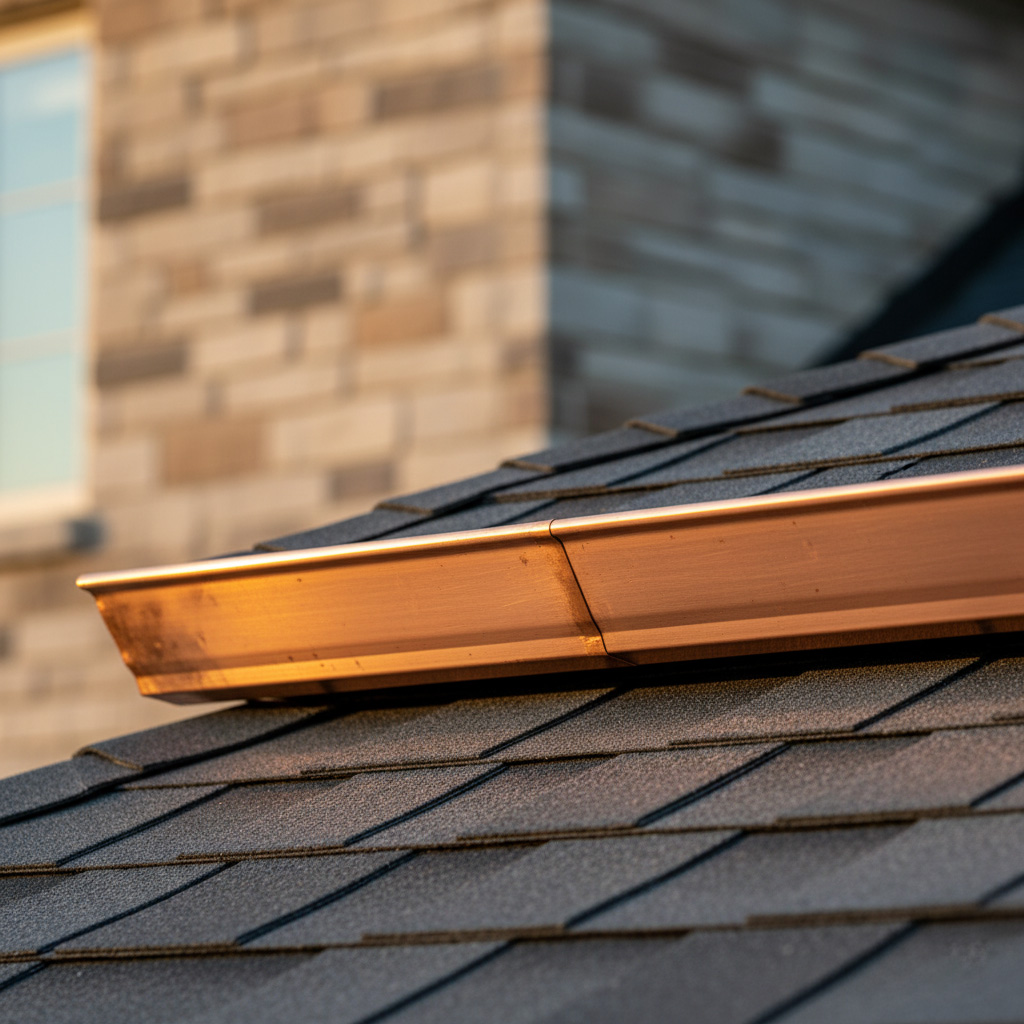
An ice dam shield is a heavy-duty, self-adhering membrane made from rubberized asphalt. It sticks directly to your roof deck like glue, creating a watertight barrier right where ice dams love to strike: the eaves, valleys, and around roof penetrations.
Unlike basic asphalt felt paper that soaks up water and tears under nail holes, this beast seals itself around fasteners. Water hits it and goes nowhere. Period.
Head-to-Head: Why It Crushes Felt Underlayment
- Impermeable armor: Blocks 100% of liquid water, while felt lets it seep through.
- Self-healing grip: Nails punch in? It oozes over and plugs leaks. Felt just rips and fails.
- Cold-weather warrior: Stays flexible down to -20°F, perfect for Aurora freezes. Felt stiffens and cracks.
Bottom line? Traditional underlayment is yesterday's news. Ice dam shields deliver bombproof protection that lasts decades.
How Ice Dams Form in Aurora's Harsh Winters (And Why They Devastate Roofs)
Aurora winters hit hard. Snow piles up thick on your roof during those sub-zero nights. Then a chinook wind rolls in, warming things just enough to start the melt.
Heat sneaks up from your attic. It turns that snow into water, which races down the roof slope. But at the eaves, where it's colder, it freezes solid into a bulging ice dam.
The Deadly Backup
Here's the killer part. That ice wall blocks the meltwater from draining off. It pools up, seeps under shingles, and finds cracks into your home.
- Sogginess starts in the attic insulation first.
- Water drips into ceilings, staining walls below.
- Mold explodes in hidden spots, breathing hell for your family.
One unchecked dam can mean thousands in fixes. Gutted drywall. Rotted rafters. Aurora roofs crumble fast without a fightback plan.
The Science Behind Ice Dam Shields: Self-Sealing Protection That Stops Water Cold
Ice dam shields aren't your grandpa's tar paper. These bad boys are rubberized asphalt membranes, thick and sticky, designed to bond tight to your roof deck.
They laugh at water. Unlike felt underlayment that soaks up moisture like a sponge, this stuff stays bone-dry and impermeable.
How the Self-Sealing Magic Happens
Here's the genius part. When we nail through the shield during install, the rubberized layer oozes around the nail head and seals it shut. No gaps. No leaks.
- Water hits the shield? Slides right off or stays put without penetrating.
- Ice dam forms? Meltwater can't creep under shingles—it hits the shield and reroutes.
- Temp swings from Colorado winters? Shield flexes without cracking.
Think of it as a bulletproof gasket for your roof. Lab-tested to handle extreme cold down to -20°F, it grips like glue even as roofs expand and contract. That's why pros swear by it for Aurora's freeze-thaw hell.
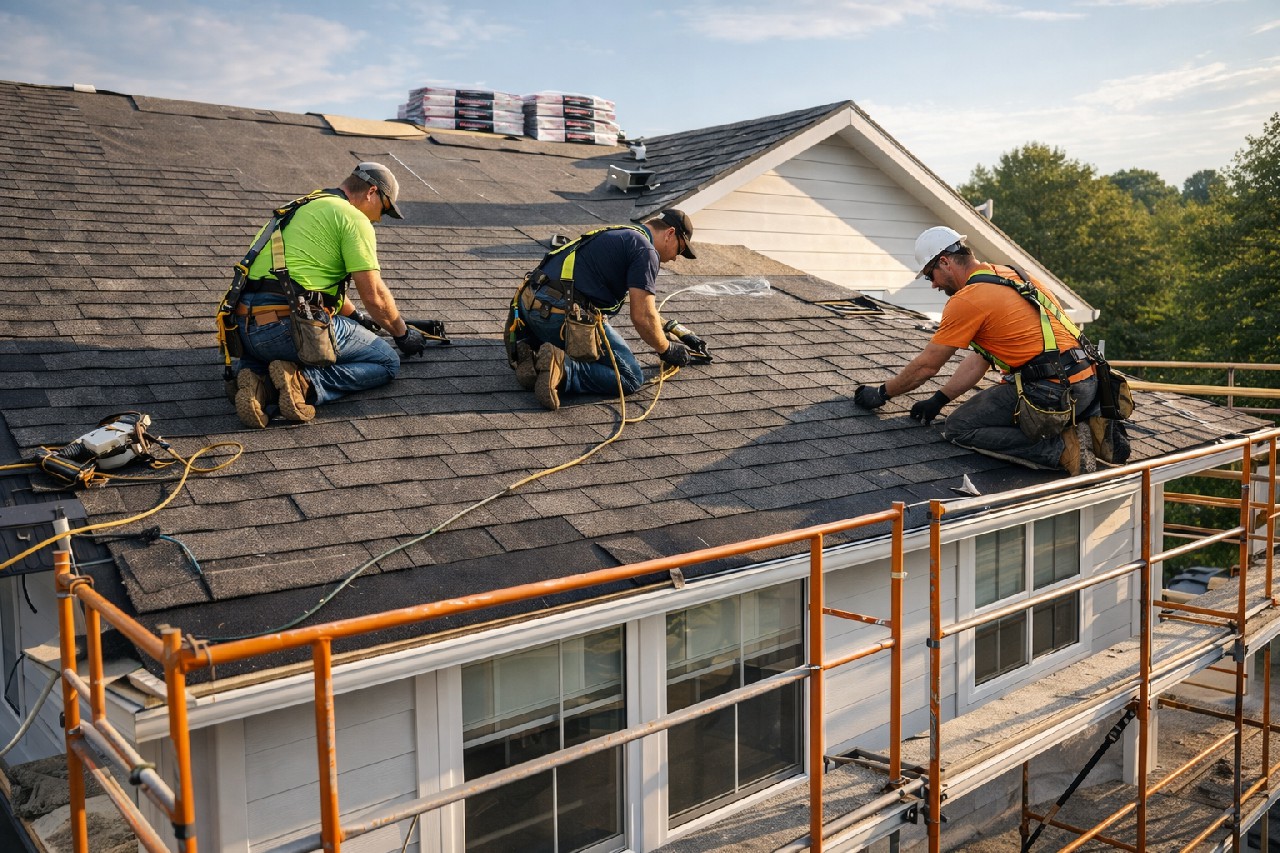
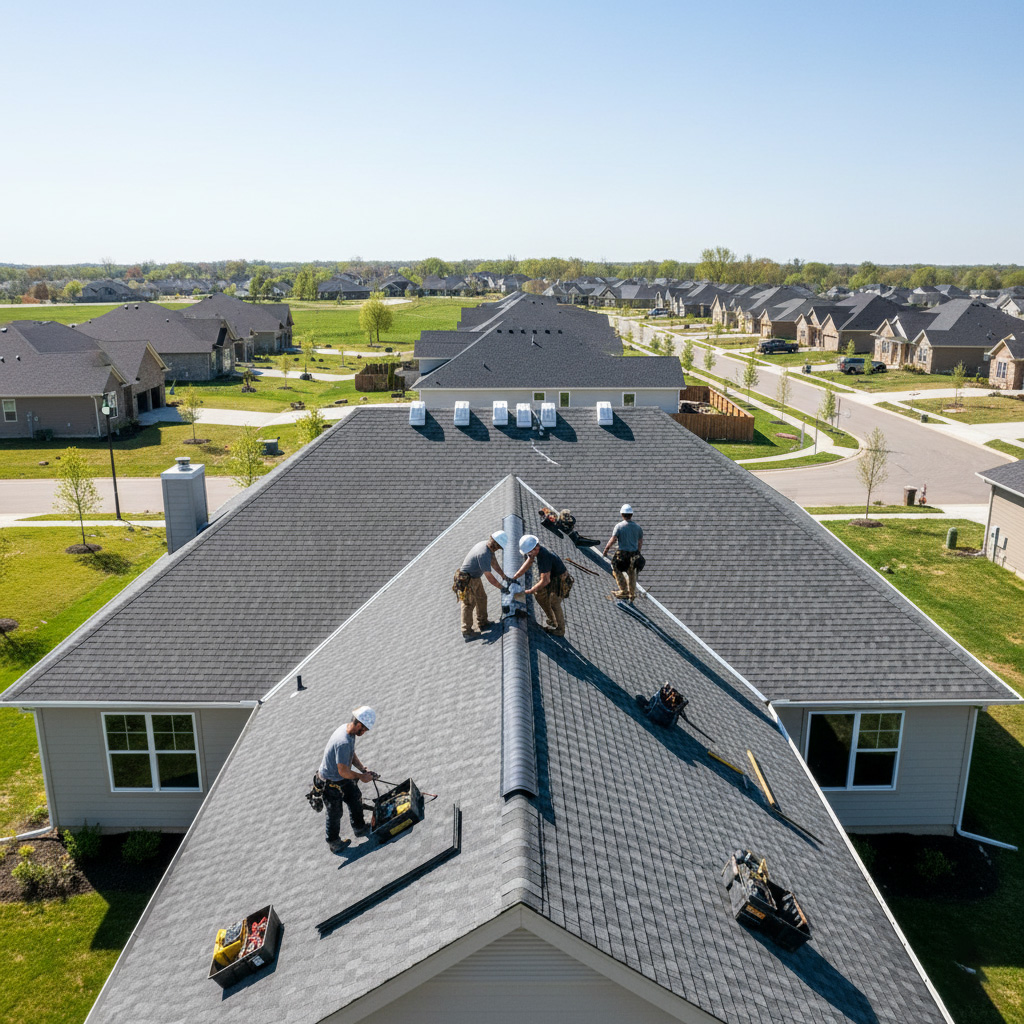
Step-by-Step Ice Dam Shield Installation on Aurora Homes
Installing an Ice Dam Shield isn't rocket science, but it demands precision to lock out water on those steep Aurora roofs battered by chinook winds and heavy snow loads. Pros handle this in a day for most homes. Get it wrong, and you're back to square one next freeze-thaw cycle.
Key Tools and Prep
- Utility knife for clean cuts.
- Hammer tacker or roofing nail gun with 1-inch cap nails.
- Chalk line for straight edges.
- Measure twice: Start from the eaves edge, extending 36-72 inches up depending on your roof pitch.
Clean the deck first. Remove old underlayment debris. Dry surface seals better.
The Install Process
Unroll the self-adhering membrane sticky-side down. Press firmly with a hand roller. Overlap each run by 6 inches, minimum, and seal edges with mastic if needed.
Hit the valleys next: Full coverage there, folded into the valley for full gutter protection. Flash around chimneys, vents, and skylights with metal step flashing over the shield.
Finish by butting synthetic underlayment above. Nail every 12 inches along edges. Boom - your Aurora roof now laughs at ice dams.
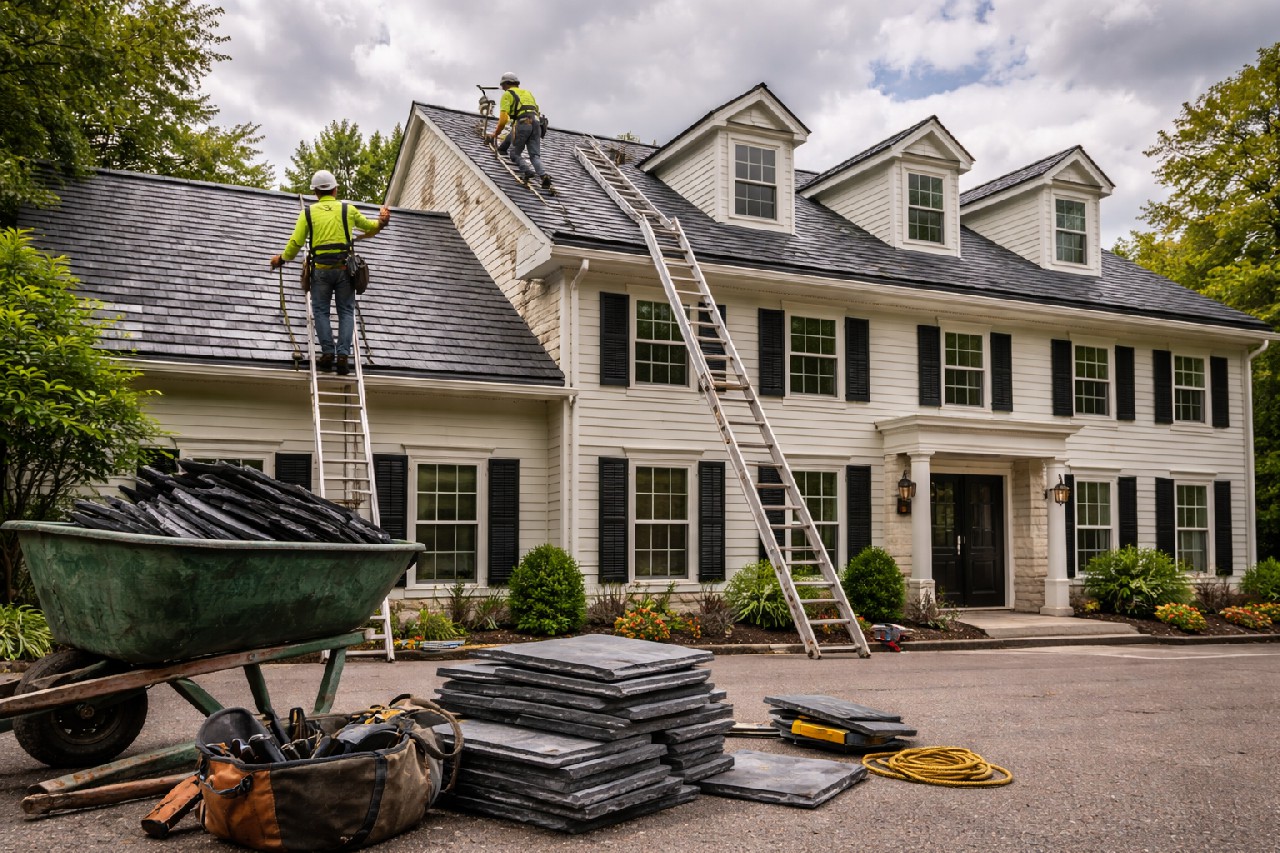
Case Study: Saving a Local Aurora Roof from Ice Dam Disaster
Meet the Johnsons: A Classic Aurora Ice Dam Victim
Picture this: the Johnsons, longtime Aurora residents, faced their third straight winter of ceiling stains and attic leaks last February.
Heavy snow from a Colorado nor'easter melted under sunlight, then refroze into a massive ice dam along their eaves. Water backed up under the shingles, rotting the underlayment and forcing emergency patches that cost them $4,200.
Our Ice Dam Shield Intervention
We swooped in during a brief spring thaw. First, stripped the damaged lower roof section down to the decking.
Applied the self-sealing Ice Dam Shield in overlapping layers, focusing on eaves, valleys, and penetrations. Full install took one day, no shortcuts.
- Key upgrade: Paired it with high-quality synthetic underlayment for total coverage.
- Sealed all edges tight against wind-driven rain.
- Tested with a hose to confirm zero leaks.
One Year Later: Zero Damage, Happy Homeowners
This winter hit Aurora hard with 60 inches of snow. The Johnsons? Bone dry.
No drips. No rot. They saved thousands more in repairs and got peace of mind. One install, endless protection.
Costs, DIY vs. Pro Installation, and Maintenance Tips for Longevity
Real Costs in Aurora
Expect to pay $1 to $2.50 per square foot for quality ice dam shield material alone. For a typical Aurora ranch-style home with 1,500 square feet of roof coverage on edges and valleys, materials run $400 to $800.
Labor bumps it to $1,000 to $2,500 total, depending on roof pitch and access. Factor in 10-20% more for steep pitches common in our foothills.
- Pro tip: Get quotes from three local crews – shop smart, save hundreds.
- Skip cheap knockoffs; they fail fast in Colorado freeze-thaw cycles.
DIY Traps vs. Hiring Pros
DIY sounds cheap, but one slip shreds your shingles or worse – leaks that rot rafters. No experience? You'll botch overlaps, leaving gaps for water to sneak in.
Pros nail it in half a day, with warranties up to 20 years. In Aurora, certified roofers handle permitting and code tweaks seamlessly.
Bottom line: Pay $1,500 now or $10,000 later in water damage. Call in the experts.
Maintenance That Makes It Last
Inspect edges yearly before snow flies – clear debris, check for cracks. Reapply sealant on seams every five years.
- Trim overhanging branches to cut ice buildup.
- Improve attic ventilation; it starves ice dams at the source.
- Avoid power washing; gentle hose-off only.
Final Thoughts
Don't let another Aurora winter catch you off guard. Ice Dam Shields deliver bulletproof defense that traditional underlayment just can't match.
Skip the headaches of leaks and repairs. Grab this protection now, and sleep easy through the next blizzard.
Ready to Shield Your Roof?
Our crew handles everything from assessment to install. Dive into Ice and Water Shield Installation tailored for Aurora homes.
- Free quotes on the spot.
- Pro-grade materials only.
- Results that last decades.
Hit us up today. Your roof will thank you.
People Also Ask
What is an ice dam shield?
An ice dam shield, also known as ice and water shield, is a premium self-adhering waterproof membrane designed to protect roofs from ice dams and wind-driven rain. It creates a robust seal around roof penetrations like vents and chimneys, preventing leaks where traditional materials fail. In Aurora's snowy climate, it's essential for safeguarding homes against winter water damage.
Why do Aurora homes need ice dam shields?
Aurora's harsh winters with heavy snow and freeze-thaw cycles cause ice dams to form, trapping water under shingles and leading to costly interior damage. Ice dam shields provide superior protection by sealing out moisture completely, unlike standard underlayment. Local homeowners save thousands by preventing leaks that plague unprotected roofs.
How is ice dam shield installed on a roof?
Installation starts along the roof eaves, extending up to 3-6 feet in snow-prone areas like Aurora, then overlaps at valleys and penetrations. Professionals clean the surface, roll out the sticky membrane, and press it firmly for a watertight bond before shingling over. DIY attempts often lead to gaps; hire Aurora roofing experts for flawless results.
What's the difference between ice dam shield and traditional underlayment?
Traditional felt underlayment is absorbent paper that tears easily and offers minimal leak protection, while ice dam shields are rubberized asphalt membranes that self-seal around nails and conform to irregularities. This makes shields far more durable against ice dams and storms common in Aurora. Upgrading to shields extends roof life significantly over basic materials.
Can you install ice dam shield yourself in Aurora?
DIY ice dam shield installation is possible for small areas but risky due to precise overlapping and surface prep needed to avoid future leaks. In Aurora's variable weather, pros ensure code-compliant placement for maximum protection. For safety and warranty, contact local roofing specialists to handle the job professionally.
Aurora Roofing delivers expert roofing services with decades of experience serving the Aurora, CO area. The team specializes in installations, repairs, and maintenance designed for local homes and businesses. Rooted in the community, Aurora Roofing focuses on quality workmanship suited to Colorado's climate.
Need Roofing?
Rapid roof repairs and replacements in Aurora, CO and nearby areas deliver weatherproof protection and long-term durability with minimal downtime. (80010, 80011, 80012, 80013, 80014)
Get Roofing Quote